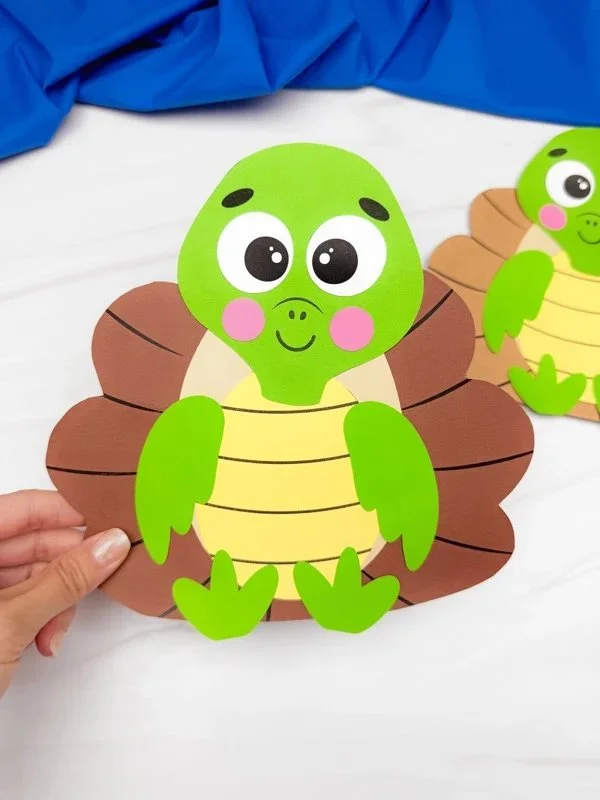
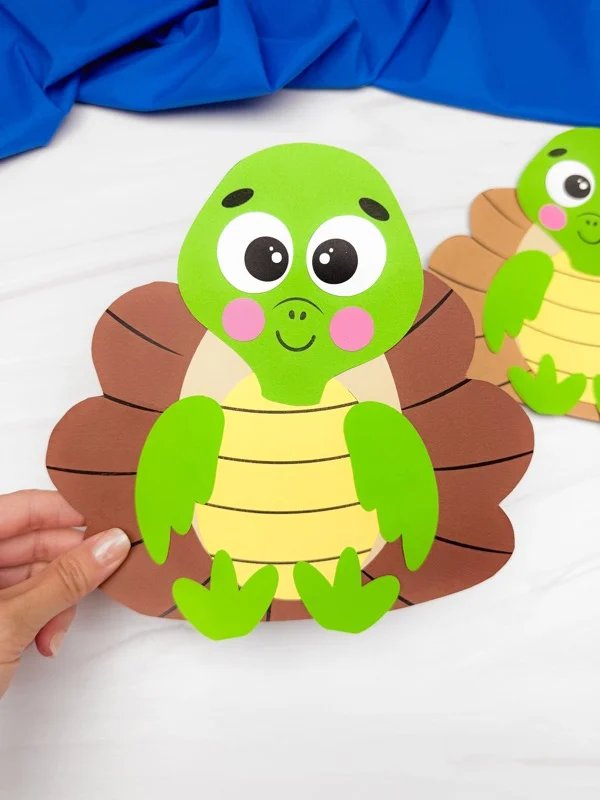
Embark on a fun and easy DIY project with the Turtle Turkey Disguise Craft for Kids. This engaging craft is perfect for young crafters and offers a creative way to combine the themes of Thanksgiving and cute animals! With simple materials and step-by-step instructions, this easy craft allows kids to express their creativity while making a delightful decoration that can be used for home decor or as a seasonal gift. Plus, you can download a free PDF template to get started quickly!
WHY YOU WILL LOVE THIS Turtle Turkey Disguise Craft
This Turtle Turkey Disguise Craft is perfect for various reasons:
- Easy for Beginners: Designed with kids in mind, this craft is simple and fun for all ages.
- Uses Simple Materials: You only need a few basic supplies to create this delightful disguise.
- Budget-Friendly: It doesn’t require expensive materials, making it an economical choice for families and classrooms.
- Quick to Make: Ideal for a short craft session; it can be completed in under an hour.
- Great for Home Decor: Once finished, your turtle turkey can brighten up your Thanksgiving decorations.
- Great for Gifts: A unique handmade gift for loved ones, showcasing your child’s creativity.
- Easy to Customize: Kids can personalize their turtles, fostering creativity.
PROJECT DETAILS
Skill Level
This craft is beginner-friendly, making it perfect for kids and first-time crafters.
Estimated Time
The estimated time for this project is around 30 to 45 minutes, depending on the child’s experience and creativity.
Approximate Cost
You can create this Turtle Turkey Disguise craft for about $5 to $10, making it a budget-friendly DIY option.
Best For
This craft is suitable for kids aged 5 and up but can be adapted for younger crafters with adult supervision.
Project Type
This is a seasonal craft idea, perfect for Thanksgiving or autumn-themed decorations.
TOOLS AND EQUIPMENT NEEDED
Scissors
You will need sharp scissors for cutting various shapes from the materials. Make sure to supervise young children while using scissors.
Glue Stick
A glue stick will be used for attaching different components of the turtle turkey together. It’s easy to use and mess-free, making it perfect for kids.
Markers or Crayons
Markers or crayons will help kids add personal touches and details to their turtles, such as facial features or colorful designs.
MATERIALS
Construction Paper
You will need various colors of construction paper to create the turtle and turkey features. Brown, green, red, and orange are great choices.
Printable Turtle Turkey Template
A free PDF template (downloadable) will provide outlines for the turtle shell and turkey face, making it easy to cut and assemble.
Googly Eyes
Googly eyes can add a fun and playful element to your turtle turkey disguise, giving it a lively expression.
Feathers (Optional)
Using colorful feathers can enhance your project, adding a fun texture and extra character to your turkey disguise.
Tape
Tape can be used for securing pieces where glue may not be as effective or to add temporary elements.
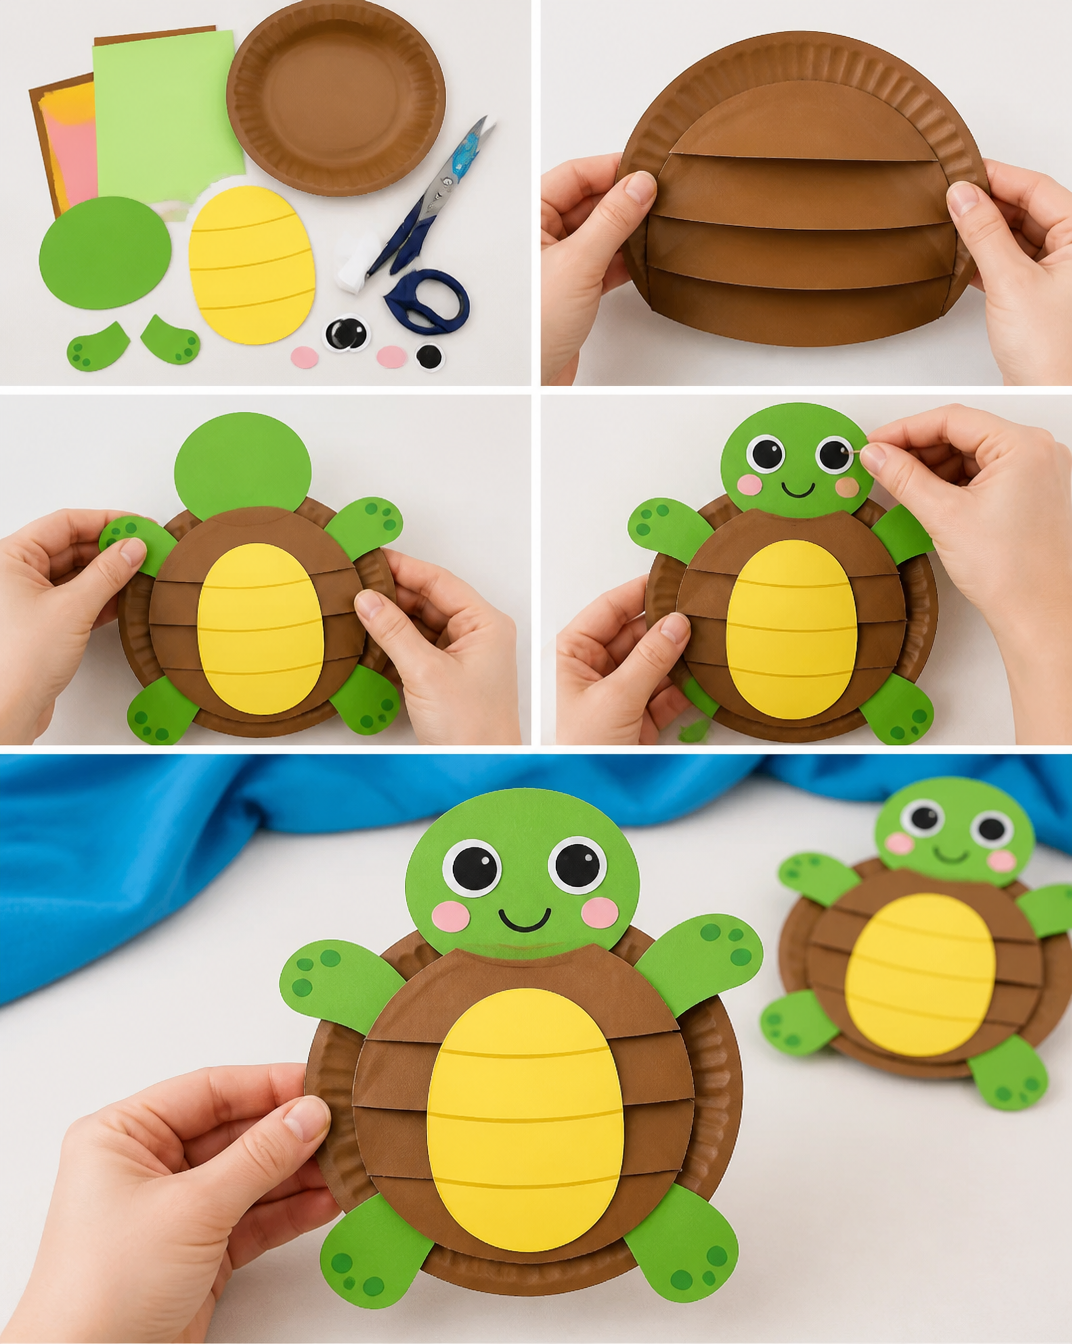
HOW TO MAKE Turtle Turkey Disguise
Creating the Turtle Turkey Disguise is straightforward. Follow these simple steps:
Step 1: Print the Template
Start by downloading and printing the Turtle Turkey template. This template includes all the necessary shapes you will need.
Step 2: Cut Out the Shapes
Using the scissors, carefully cut along the lines of the printed template. Be sure to cut out the turtle shell, the turkey face, and any other elements.
Step 3: Prepare the Turtle Shell
Take a piece of construction paper in your chosen turtle shell color (green works well) and trace the outline of the shell shape from the template. Cut it out carefully.
Step 4: Color the Turkey Face
Using markers or crayons, color the turkey face according to your preference. You can use brown for the head, red for the wattle, and orange for the beak. Let your creativity shine!
Step 5: Assemble the Parts
Glue the turkey face onto the turtle shell. Position it where it looks best, and press down to secure it.
Step 6: Add Googly Eyes
Attach googly eyes onto the turkey face using glue to give it a lively and whimsical look.
Step 7: Customize with Feathers
If you have feathers, now is the time to glue them onto the shell or behind the turkey face to add flair and texture. They can be placed anywhere you like!
Step 8: Final Touches
Once everything is glued and dry, let your turtle turkey sit for a few minutes. Ensure all pieces are securely attached. You may also want to use markers to add more decorative elements to your disguise.
Step 9: Display Your Creation
Your Turtle Turkey Disguise is now ready! You can place it on the dining table, use it as part of your Thanksgiving decor, or even give it as a handmade gift to family and friends.
TIPS AND TRICKS
- Choosing Materials: Use brighter colors for younger children to keep their interest. For older kids, they can experiment with different shades and patterns.
- Making it Easier: Pre-cut complex shapes if younger children are involved, allowing them to focus on glueing and decorating.
- Getting a Better Finish: Allow glue to dry fully before displaying or handling the craft to avoid any parts falling off.
- Saving Money: Use up scrap paper or leftover craft supplies from other projects to keep costs low.
- Making it Last Longer: Use a sealant spray to preserve the craft if you plan to store it for future holidays.
- Working Safely: Always supervise children with scissors and glue, and encourage them to cut carefully, keeping fingers clear of blades.
VARIATIONS AND CUSTOMIZATION IDEAS
There are endless ways you can customize your Turtle Turkey Disguise:
- Different Colors: Experiment with different colors for the shell and turkey face; you can create a rainbow of turtles!
- Larger Sizes: Scale up the template for a larger decoration to hang or display prominently during holidays.
- Seasonal Versions: Change the colors or features to match other holidays, such as Christmas or Halloween.
- Different Patterns: Use patterned paper, such as polka dots or stripes, for a unique look.
- Add Personalization: Encourage kids to write their names or a festive message under the turtle turkey for a personal touch.
Turtle Turkey Disguise FAQ
1. Is this Turtle Turkey craft suitable for all ages?
Yes, children aged 5 and older will enjoy this project. Younger children may need supervision with scissors.
2. How long does it take to complete this craft?
On average, it takes around 30 to 45 minutes to finish the Turtle Turkey Disguise.
3. Can I use different materials instead of construction paper?
Absolutely! You can use foam sheets, recycled materials, or fabric scraps to create different textures and effects.
4. How should I store the Turtle Turkey craft when not in use?
Store in a dry place away from direct sunlight to prevent color fading. You can use a box or drawer to keep it safe.
5. Is this a budget-friendly craft?
Yes! The total cost typically ranges from $5 to $10, making it an economical choice for craft lovers.
CONCLUSION
The Turtle Turkey Disguise Craft is an excellent way to bring creativity to your Thanksgiving celebrations. This easy DIY project encourages kids to engage in simple crafts that are fun and imaginative while being budget-friendly. Not only can they add a festive touch to home decor, but it also provides a fantastic opportunity for kids to express themselves. So gather your materials, download the free template, and get started on this creative DIY project today! We would love to see your finished Turtle Turkey works of art, so don’t hesitate to share your experiences and customization ideas!