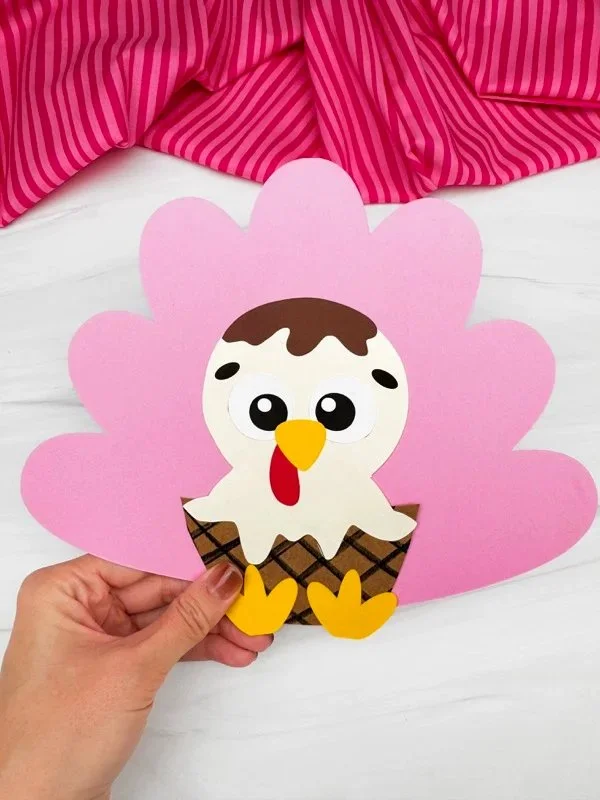
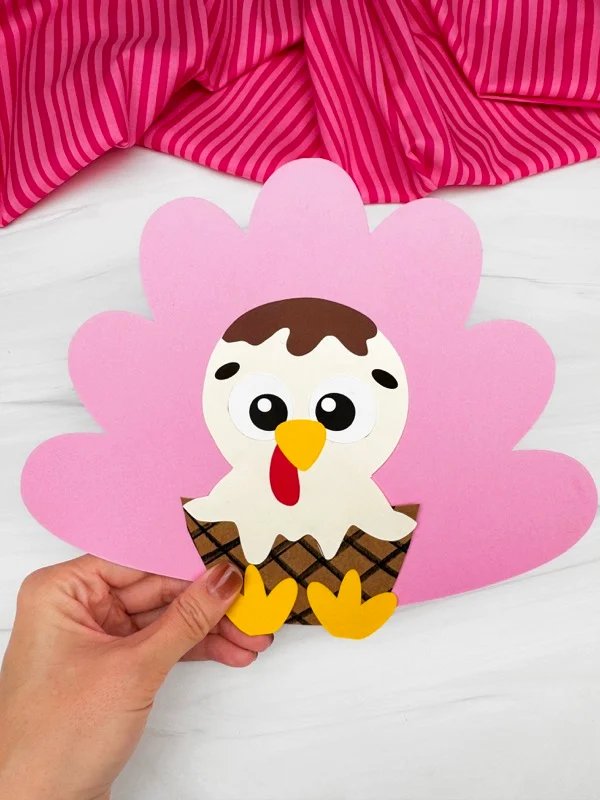
The Ice Cream Turkey Disguise Craft is a delightful seasonal DIY project that combines creativity and fun with simple materials. It’s a fantastic way to celebrate the holidays, especially Thanksgiving, while making a charming piece of homemade decor. This easy craft is perfect for families, beginners, or anyone looking for budget-friendly crafts that inspire creativity. With our free printable template, you can quickly put together a cute turkey that adds a festive touch to your home or makes a great gift for loved ones.
WHY YOU WILL LOVE THIS Ice Cream Turkey Disguise Craft
You will enjoy making the Ice Cream Turkey Disguise Craft for several reasons:
- Easy for Beginners: This project guides you step-by-step, making it accessible for those new to crafting.
- Uses Simple Materials: The materials needed are easy to find and affordable, ensuring that you can create this craft without stress.
- Budget-friendly: Crafting doesn’t have to break the bank, and this project is perfect for those looking for simple crafts that won’t cost much.
- Quick to Make: You can complete this fun project in about an hour, making it great for a quick family activity.
- Great for Home Decor: The finished turkey can be displayed as a festive centerpiece during holiday gatherings.
- Creative Customization: With various options for colors and decorations, you can personalize each turkey, making every creation unique.
PROJECT DETAILS
Skill Level
This craft is suitable for all skill levels, especially beginners looking for an easy DIY project that builds confidence in crafting.
Estimated Time
Expect to spend around 30 to 60 minutes on this project, allowing time for cutting and assembling.
Approximate Cost
This is a budget-friendly craft, with total costs estimated around $10 or less, depending on the materials you already have at home.
Best For
The Ice Cream Turkey Disguise Craft is perfect for families, classrooms, or friends gathering for a holiday celebration. It’s also a delightful DIY home decor piece.
Project Type
This project falls under the seasonal crafts category, specifically tailored for Thanksgiving but can also be enjoyed throughout the fall season.
TOOLS AND EQUIPMENT NEEDED
Craft Scissors
Craft scissors will help you cut out the template pieces accurately, ensuring clean edges for your turkey.
Glue
A strong adhesive, such as school glue or hot glue, is essential for assembling the turkey parts. Hot glue provides a faster hold, while school glue is safe for younger crafters.
Printable Template
The free printable template includes all the turkey pieces you’ll need. Make sure to print it on sturdy paper for best results.
MATERIALS
Waffle Cone
The waffle cone serves as the turkey’s body. Its shape makes it perfect for this fun disguise craft!
Colored Paper or Cardstock
You’ll need various colors of paper for cutting out the feathers and turkey features. Go for vibrant shades to make your turkey stand out!
Googly Eyes
These add a fun touch to your turkey’s face. Googly eyes offer a whimsical effect that kids will love.
Foam or Felt (optional)
If you want to make your turkey more textured, consider using foam or felt for the features instead of paper.
Syrup or Whipped Cream Decoration
To finish off your ice cream turkey, you can add a decorative touch at the top, resembling syrup or whipped cream.
Markers or Paint (optional)
Use these to enhance your turkey with additional details or colors for a more personalized look.
HOW TO MAKE the Ice Cream Turkey Disguise Craft
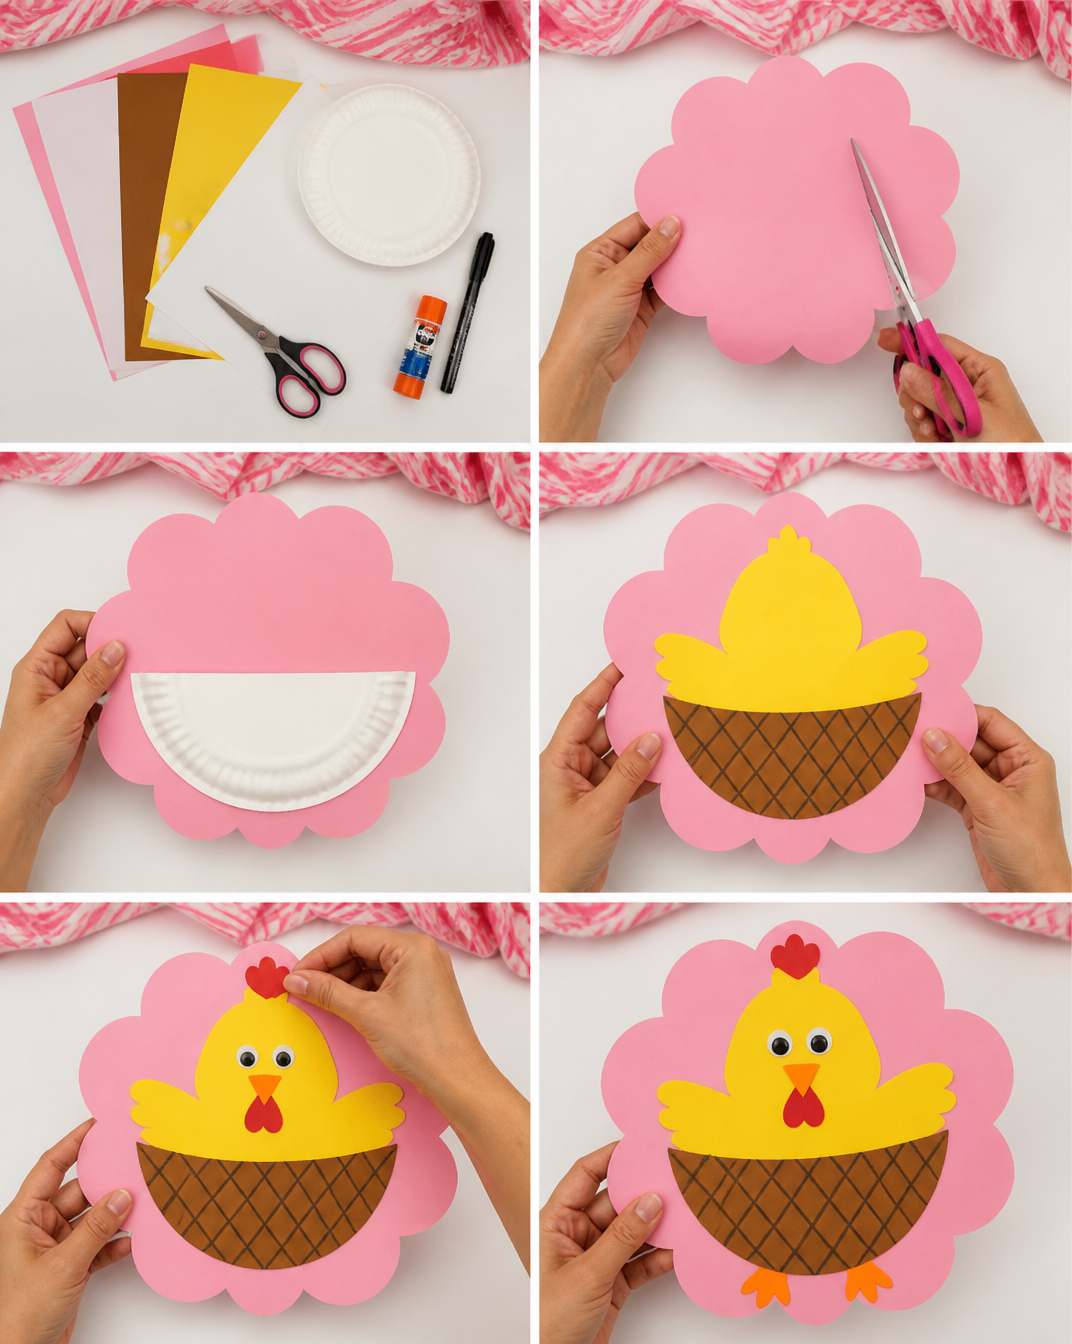
Step 1: Download and Print Template
Begin by downloading the free printable template from our website. Print it on sturdy paper to ensure durability.
Step 2: Cut Out the Pieces
Using your craft scissors, carefully cut out all the template pieces, including the turkey body, feathers, beak, eyes, and snood.
Step 3: Assemble the Turkey Body
Take the waffle cone and glue the turkey body piece on top of it. This forms the main part of your turkey disguise.
Step 4: Attach the Feet
Use glue to attach the turkey feet to the bottom of the waffle cone. This adds stability and completes the basic structure.
Step 5: Place the Eyes
Glue the googly eyes below the eyebrows on the body. Make sure they are positioned evenly for a friendly look.
Step 6: Glue the Snood
Position the snood below the eyes and glue it down. This is the fleshy part of the turkey’s face, giving it character.
Step 7: Add the Beak
Next, take the beak piece and glue it on top of the snood. Ensure it’s centered for the best visual appeal.
Step 8: Decorate the Head
Now, glue on a swirl of syrup or whipped cream at the top of your turkey’s head. This adds a fun, festive touch!
Step 9: Attach the Feathers
Finally, glue the colorful feathers to the back of the waffle cone to complete your turkey disguise. Feel free to arrange them in any order you like.
TIPS AND TRICKS
- Choose High-Quality Materials: Good quality paper will make your turkey more durable, especially if it’s used as a decoration.
- Cut Carefully: For clean and crisp edges, take your time cutting out the template pieces.
- Use a Hot Glue Gun for Stronger Hold: If you’re working with kids, supervise them while using a hot glue gun as it can be dangerous.
- Avoid Common Mistakes: Ensure that the glue is dry before moving on to the next step to prevent pieces from sliding around.
- Save Money: Use scrap paper or leftover materials to embellish your turkey instead of buying new supplies.
- Clean Up Carefully: Craft activities can be messy. Keep a damp cloth handy for any glue spills or to wipe down scissors.
VARIATIONS AND CUSTOMIZATION IDEAS
- Different Colors: Use a range of colors for the feathers to create a rainbow turkey.
- Change Sizes: Create mini turkeys using smaller cones or larger ones for a dramatic display.
- Seasonal Versions: Adapt the design for Christmas by changing the colors and adding Santa hats or ornaments.
- Texture: Incorporate natural elements like leaves for feathers or twigs for feet to give an earthy feel to your turkey.
- Personalized Versions: Allow children to draw their own designs or write their names on the turkeys to make them unique.
- Alternative Materials: Use paper plates or felt instead of cardstock for a softer look.
Ice Cream Turkey Disguise Craft FAQ
What is the estimated difficulty level of this craft?
This craft is beginner-friendly and suitable for all skill levels, making it easy for newcomers to craft.
How long does it take to complete the Ice Cream Turkey Disguise Craft?
You can complete this charming project in about 30 to 60 minutes, depending on your crafting pace.
Are the materials safe for children?
Most materials used in this craft, like paper and glue, are safe for children. Just be cautious when using scissors or hot glue.
Can I customize my turkey?
Yes! You can easily customize this craft by using different colors, sizes, and decorations, making each turkey unique.
How do I store the finished turkey?
Store your Ice Cream Turkey Disguise Craft in a cool, dry place. Keep it out of direct sunlight to preserve the colors.
CONCLUSION
The Ice Cream Turkey Disguise Craft is an easy and fun DIY project that anyone can enjoy, especially during the holiday season. This budget-friendly craft is not only suitable for home decor but also an excellent option for handmade gifts. Its simple instructions and the free printable template make it accessible for beginners and families alike. We encourage you to try this creative DIY project and share your finished turkeys or your own customization ideas with friends and family. Happy crafting!