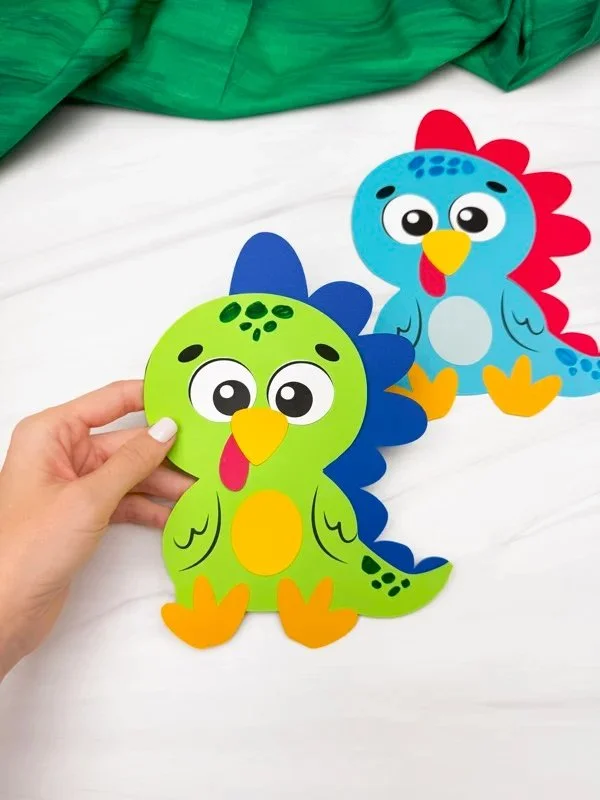
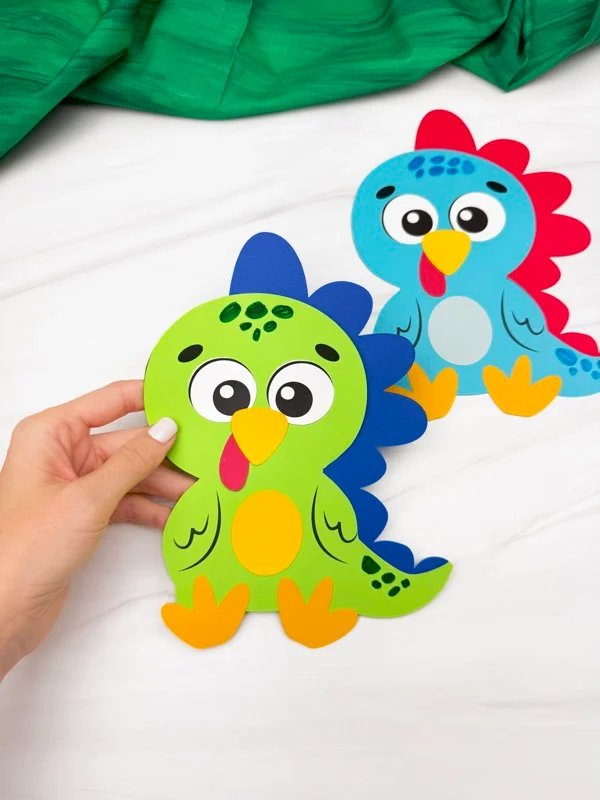
Creating a Dinosaur Turkey Disguise is a fun and imaginative DIY project that brings together creativity and seasonal fun! This easy craft project is perfect for kids and adults alike, allowing you to explore your artistic side while making something unique. Whether for a holiday decoration or a playful disguise for your Thanksgiving table, this project is a delightful way to engage in arts and crafts.
WHY YOU WILL LOVE THIS Dinosaur Turkey Disguise
You will love making the Dinosaur Turkey Disguise for several reasons:
- Easy for beginners: This is a simple craft that requires basic skills, making it suitable for crafters of all levels.
- Uses simple materials: The items needed are easy to find, which simplifies the crafting process.
- Budget-friendly: Most materials are inexpensive, allowing you to craft without overspending.
- Quick to make: The project can be completed in about an hour, making it a great choice for those with limited time.
- Great for home decor: Once completed, your Dinosaur Turkey Disguise can serve as a whimsical decoration for Thanksgiving or any seasonal gathering.
- Easy to customize: You can adapt this craft using different colors and patterns to make your dinosaur turkey truly one-of-a-kind.
PROJECT DETAILS
Skill Level
Beginner: This craft is designed to be easy enough for beginners but can still be enjoyable for experienced crafters.
Estimated Time
About 60 minutes: This includes time for cutting, gluing, and allowing the glue to set as needed.
Approximate Cost
Under $10: With common craft supplies, this project is very budget-friendly.
Best For
Creative DIY enthusiasts, children, and those looking for holiday crafts that are fun and engaging.
Project Type
Seasonal Craft: This craft is perfect for Thanksgiving or any holiday that celebrates family and togetherness.
TOOLS AND EQUIPMENT NEEDED
Scissors
You’ll need a pair of scissors to cut out the template pieces. Ensure they are sharp for clean cuts.
Glue
A strong craft or school glue is essential for securing the pieces together. You may also use a hot glue gun for quicker adhesion.
Printer
A printer is required to print the Dinosaur Turkey template, which includes all the various elements needed for the disguise.
MATERIALS
Printable Template
This is the main component of your craft. It includes all the unique shapes needed to create your dinosaur turkey.
Colored Paper
Use colored paper to make your dinosaur turkey stand out! It’s great for additional decorations and features that can add personality.
Markers or Crayons
To draw details such as dots or additional features like eyes and feathers, you’ll want some colorful markers or crayons.
Googly Eyes
These add a fun and dynamic feel to your craft. They can make your dinosaur turkey more lively and engaging.
Cotton Balls (optional)
For additional texture, use cotton balls to create fluffy parts of your dinosaur turkey.
Glitter or Stickers (optional)
These can be used to decorate your Dinosaur Turkey Disguise, giving it an extra touch of creativity and fun.
HOW TO MAKE Dinosaur Turkey Disguise
Follow these steps to create your Dinosaur Turkey Disguise, ensuring to download and print the template first.
Step 1: Download and Print the Template
Start by downloading the Dinosaur Turkey template. Print it on colored paper or regular paper if you plan to color it afterward.
Step 2: Cut Out the Pieces
Carefully cut out all the parts from the printed template. These include the body, eyes, beak, snood, and any additional features.
Step 3: Prepare the Base
If you are using colored paper for your dinosaur body, start by gluing the body cutout onto a sturdy surface, such as cardboard, to give it durability.
Step 4: Attach the Eyes
Glue the googly eyes below the eyebrows on the dinosaur face to create a playful and inviting look.
Step 5: Add the Snood
Next, glue the snood below the eyes. This critical piece will give your facade its memorable turkey look.
Step 6: Position the Beak
Place the beak on top of the snood and secure it with glue. Make sure it’s centered for a perfect presentation.
Step 7: Glue the Belly
Take the belly piece and glue it to the center of the body. This adds a nice decorative touch to your dinosaur turkey.
Step 8: Attach the Feet
Glue the feet on the bottom of the body. Ensure they are stable so your dinosaur turkey can stand properly.
Step 9: Draw Details
Using markers or crayons, draw spots on the top of the head and the end of the tail. This personal touch will add character to your craft.
Step 10: Finish with Spines
Finally, glue the spines on the back and right side of the body to complete your Dinosaur Turkey Disguise.
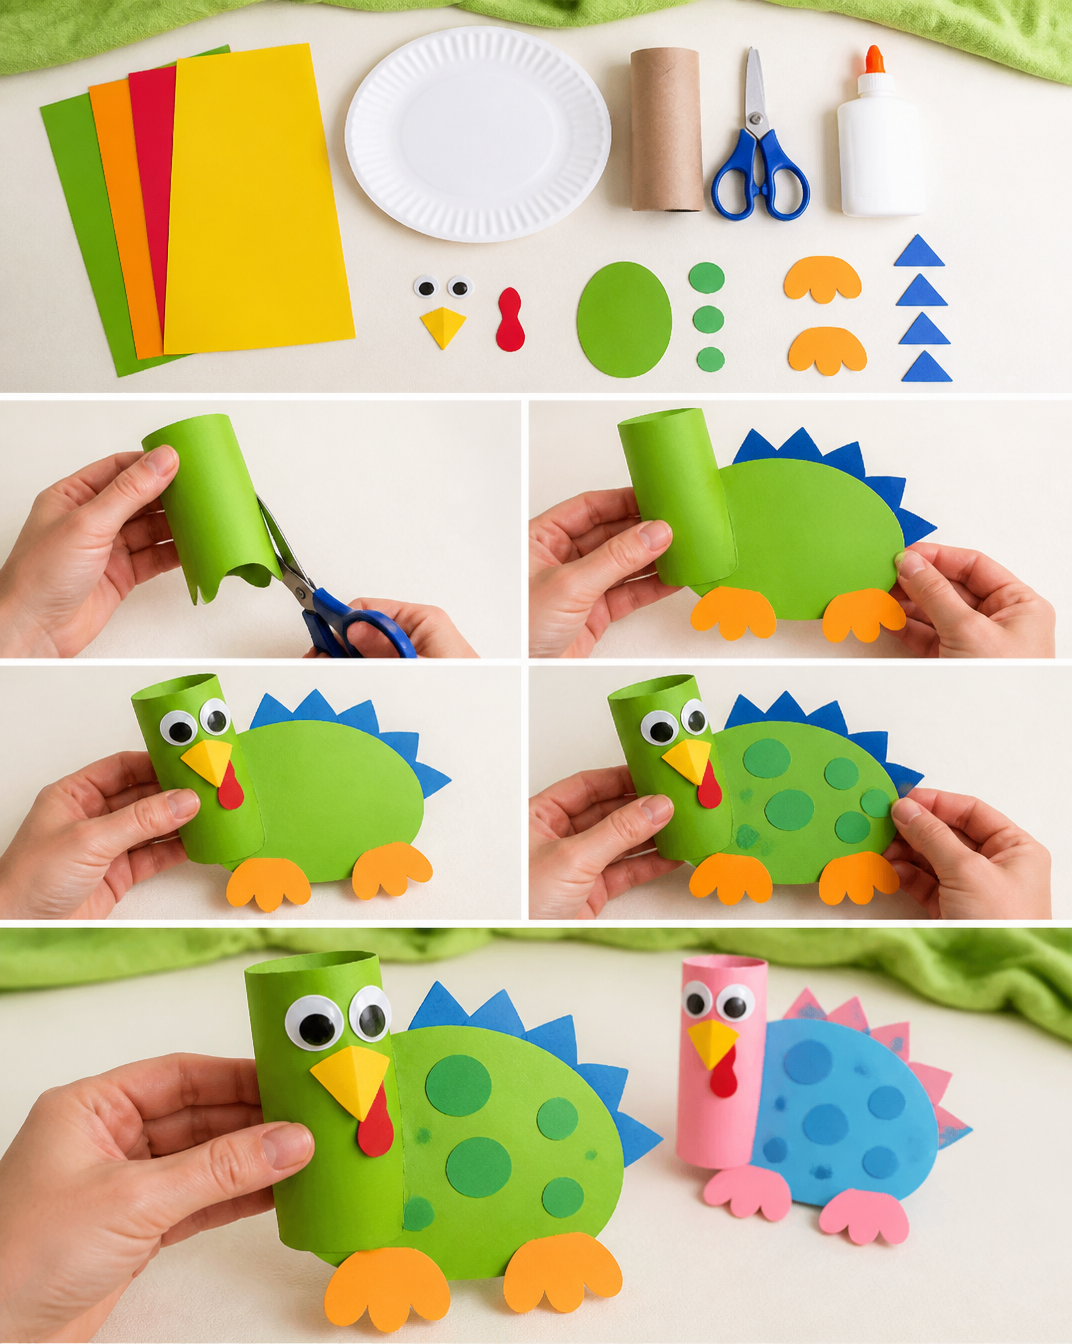
TIPS AND TRICKS
Here are some handy tips to ensure your crafting experience with the Dinosaur Turkey Disguise is enjoyable:
- Choose Materials Wisely: Opt for vibrant colored paper to make your dinosaur turkey vibrant and appealing.
- Cut Carefully: Take your time while cutting out the template pieces to prevent any tears or rough edges.
- Use Enough Glue: Be liberal with glue when attaching pieces to avoid them peeling off later.
- Avoid Common Mistakes: If you make a mistake, it’s okay! Use extra paper to cover your errors or simply adjust as needed.
- Get a Better Finish: Use sharp scissors for cleaner cuts and aim for even lines.
- Save Money: If you’re on a budget, reuse materials like old cardboard and scrap paper from other crafts.
- Store Safely: Keep your finished Dinosaur Turkey in a safe, dry spot away from water or extreme heat to ensure durability.
VARIATIONS AND CUSTOMIZATION IDEAS
Feel free to make your Dinosaur Turkey Disguise uniquely yours with these customization ideas:
- Different Colors: Instead of standard colors, consider using pastels or metallic hues to give your dinosaur turkey a unique flair.
- Size Variations: You can enlarge or reduce the template to create a mini or giant dinosaur turkey.
- Mixed Materials: Use fabric scraps or felt instead of paper to give your turkey a textured look.
- Seasonal Versions: You can modify the design for other holidays by changing colors or adding specific decorations.
- Different Patterns: Add patterns to your dinosaur turkey, like stripes or polka dots, for more visual interest.
- Personalized Versions: Write names or messages on the turkey’s belly for a special touch.
Dinosaur Turkey Disguise FAQ
-
Is this project suitable for children?
Yes, the Dinosaur Turkey Disguise is perfect for kids, with adult supervision for cutting and hot glue usage. -
How long does it take to complete the Dinosaur Turkey Disguise?
The craft generally takes about 60 minutes from start to finish, making it a quick and engaging project. -
What materials do I need for this craft?
You’ll need the printable template, colored paper, glue, scissors, googly eyes, and optionally, markers for additional decoration. -
How should I store the finished Dinosaur Turkey?
Keep it in a cool, dry place, ideally in a box or on a shelf, to ensure it maintains its shape and color. -
Can I customize the Dinosaur Turkey Disguise?
Absolutely! You can change colors, add patterns, or even create a themed dinosaur turkey for different occasions.
CONCLUSION
Creating a Dinosaur Turkey Disguise is an easy DIY project that is not only fun to make but also serves as a charming decoration for your holiday gatherings. Its simplicity makes it accessible for beginners, while its customizability allows for creative expression. This budget-friendly craft is perfect for family bonding, holiday decorations, or even a unique handmade gift. Don’t hesitate to embark on this delightful crafting adventure—grab your materials, download the template, and let your creativity soar! Share your experience and finished craft with others to inspire their DIY journey too!